Use Xello Connect to engage with prospective students and manage your school’s presence. From the dashboard to the top navigation menu, you’ll be able to quickly access everything you need to get students excited about your institution.
The dashboard is the first page you’ll see when you log in. You can always return to this page by clicking Home or the Xello logo.
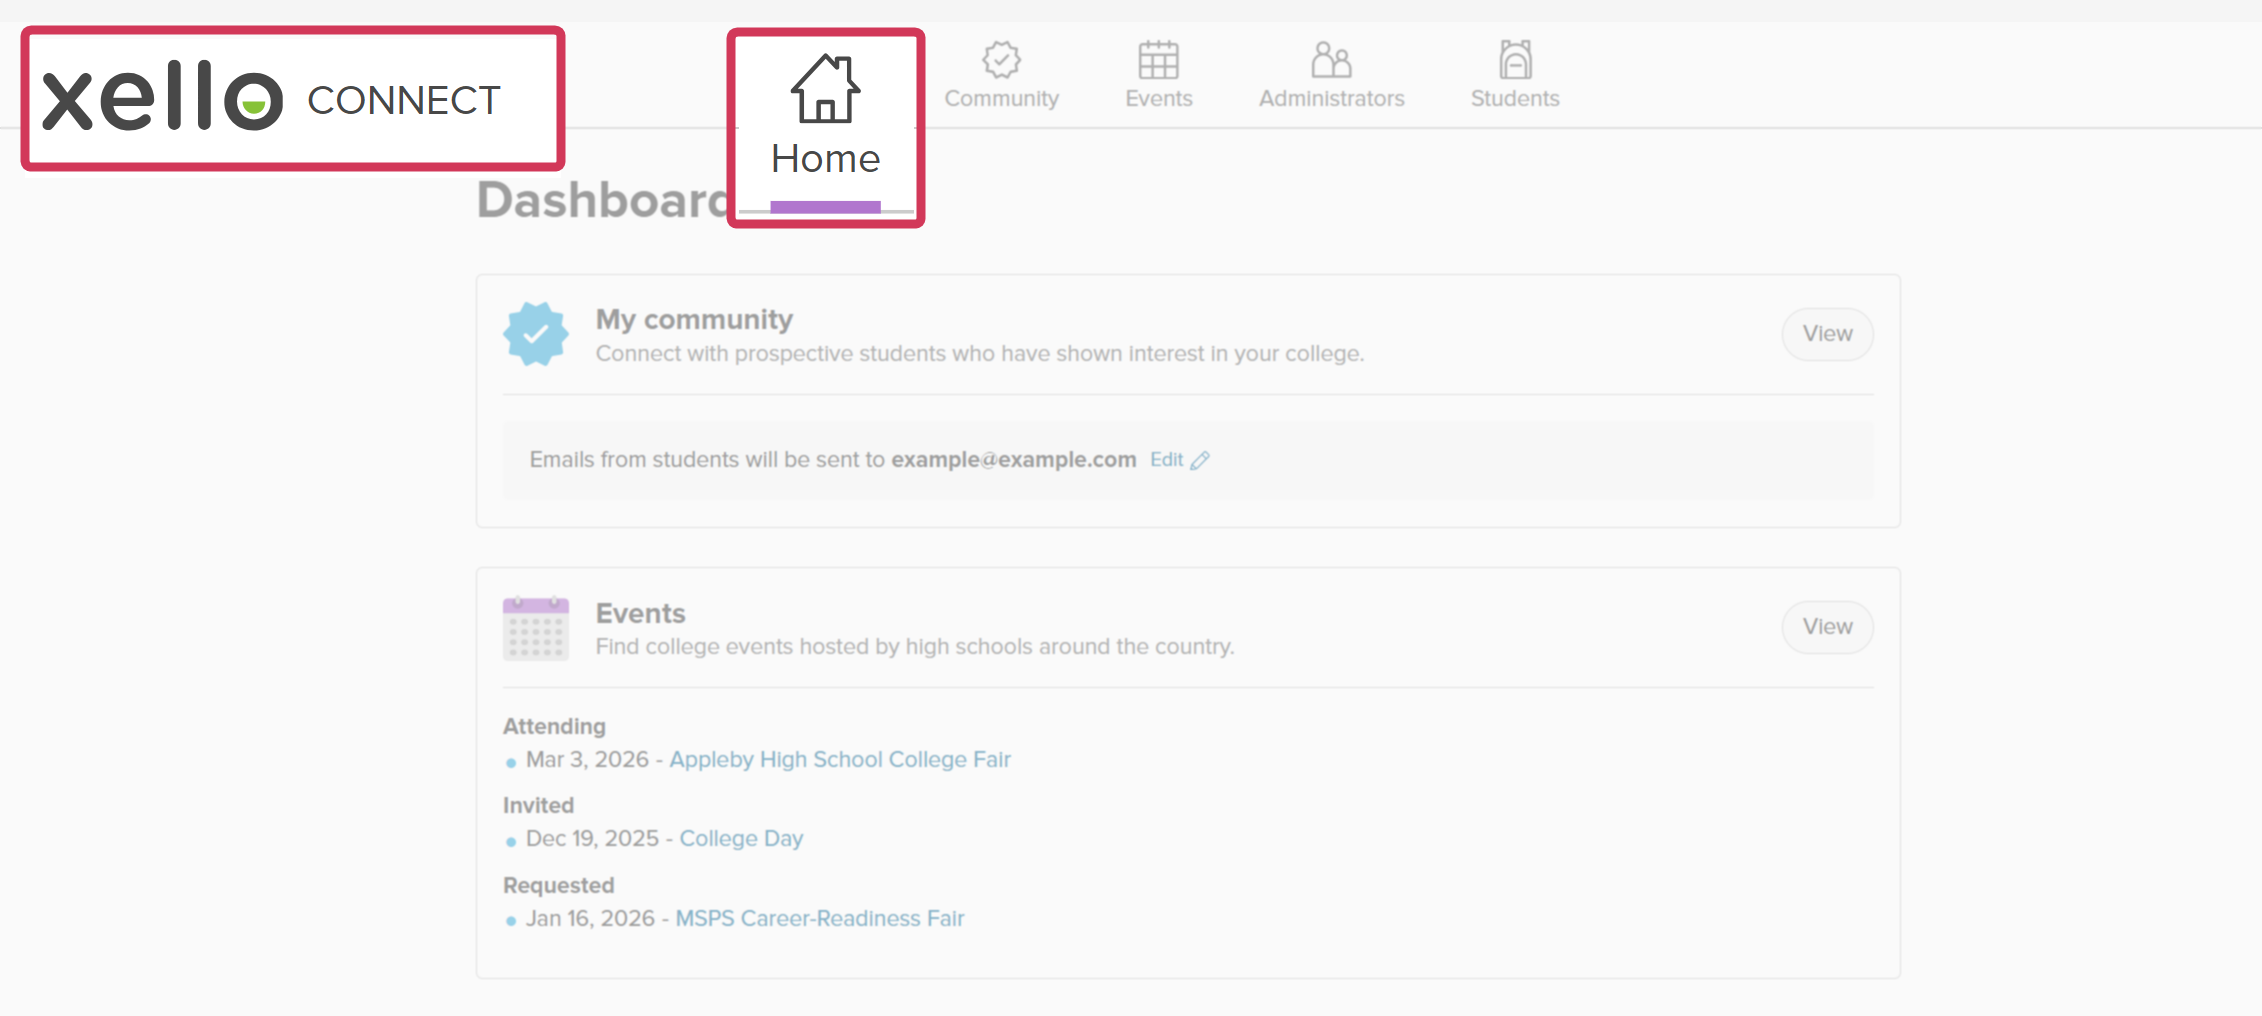
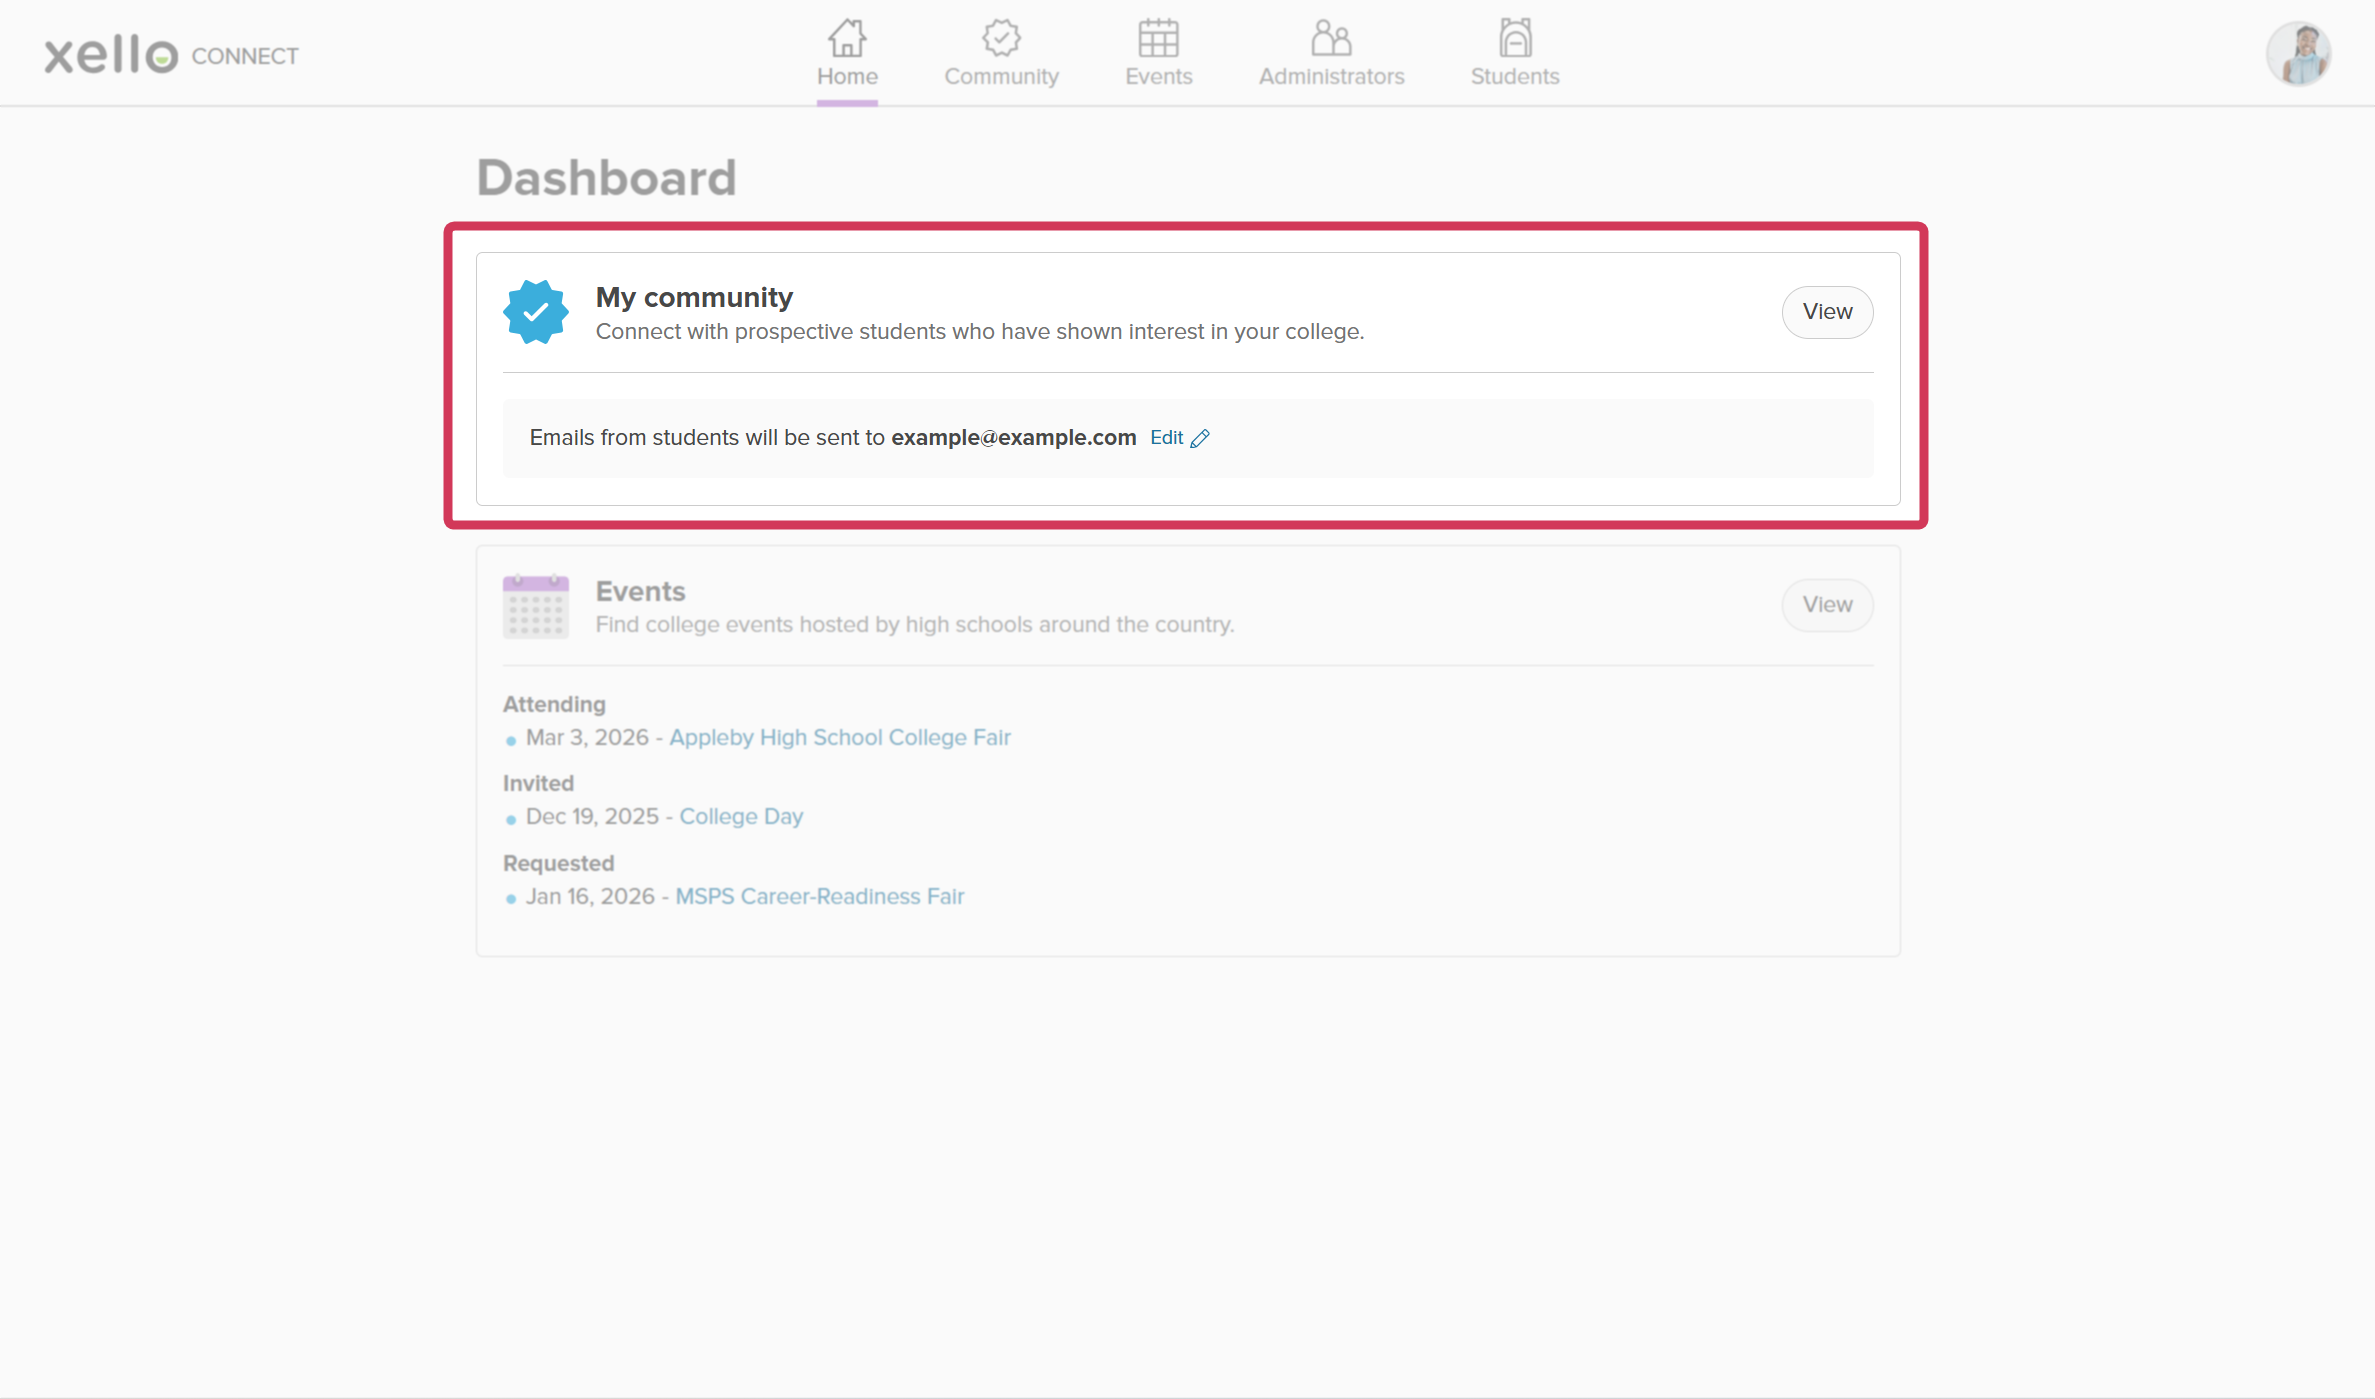
On the dashboard, you’ll find a shortcut to My community, and your preferred email address for when students reach out. On the Community page, you’ll be able to view your previous Community posts and create new ones. You can also access this page from the top menu. To learn more about adding posts, including tips for content, check out Create a Community post.
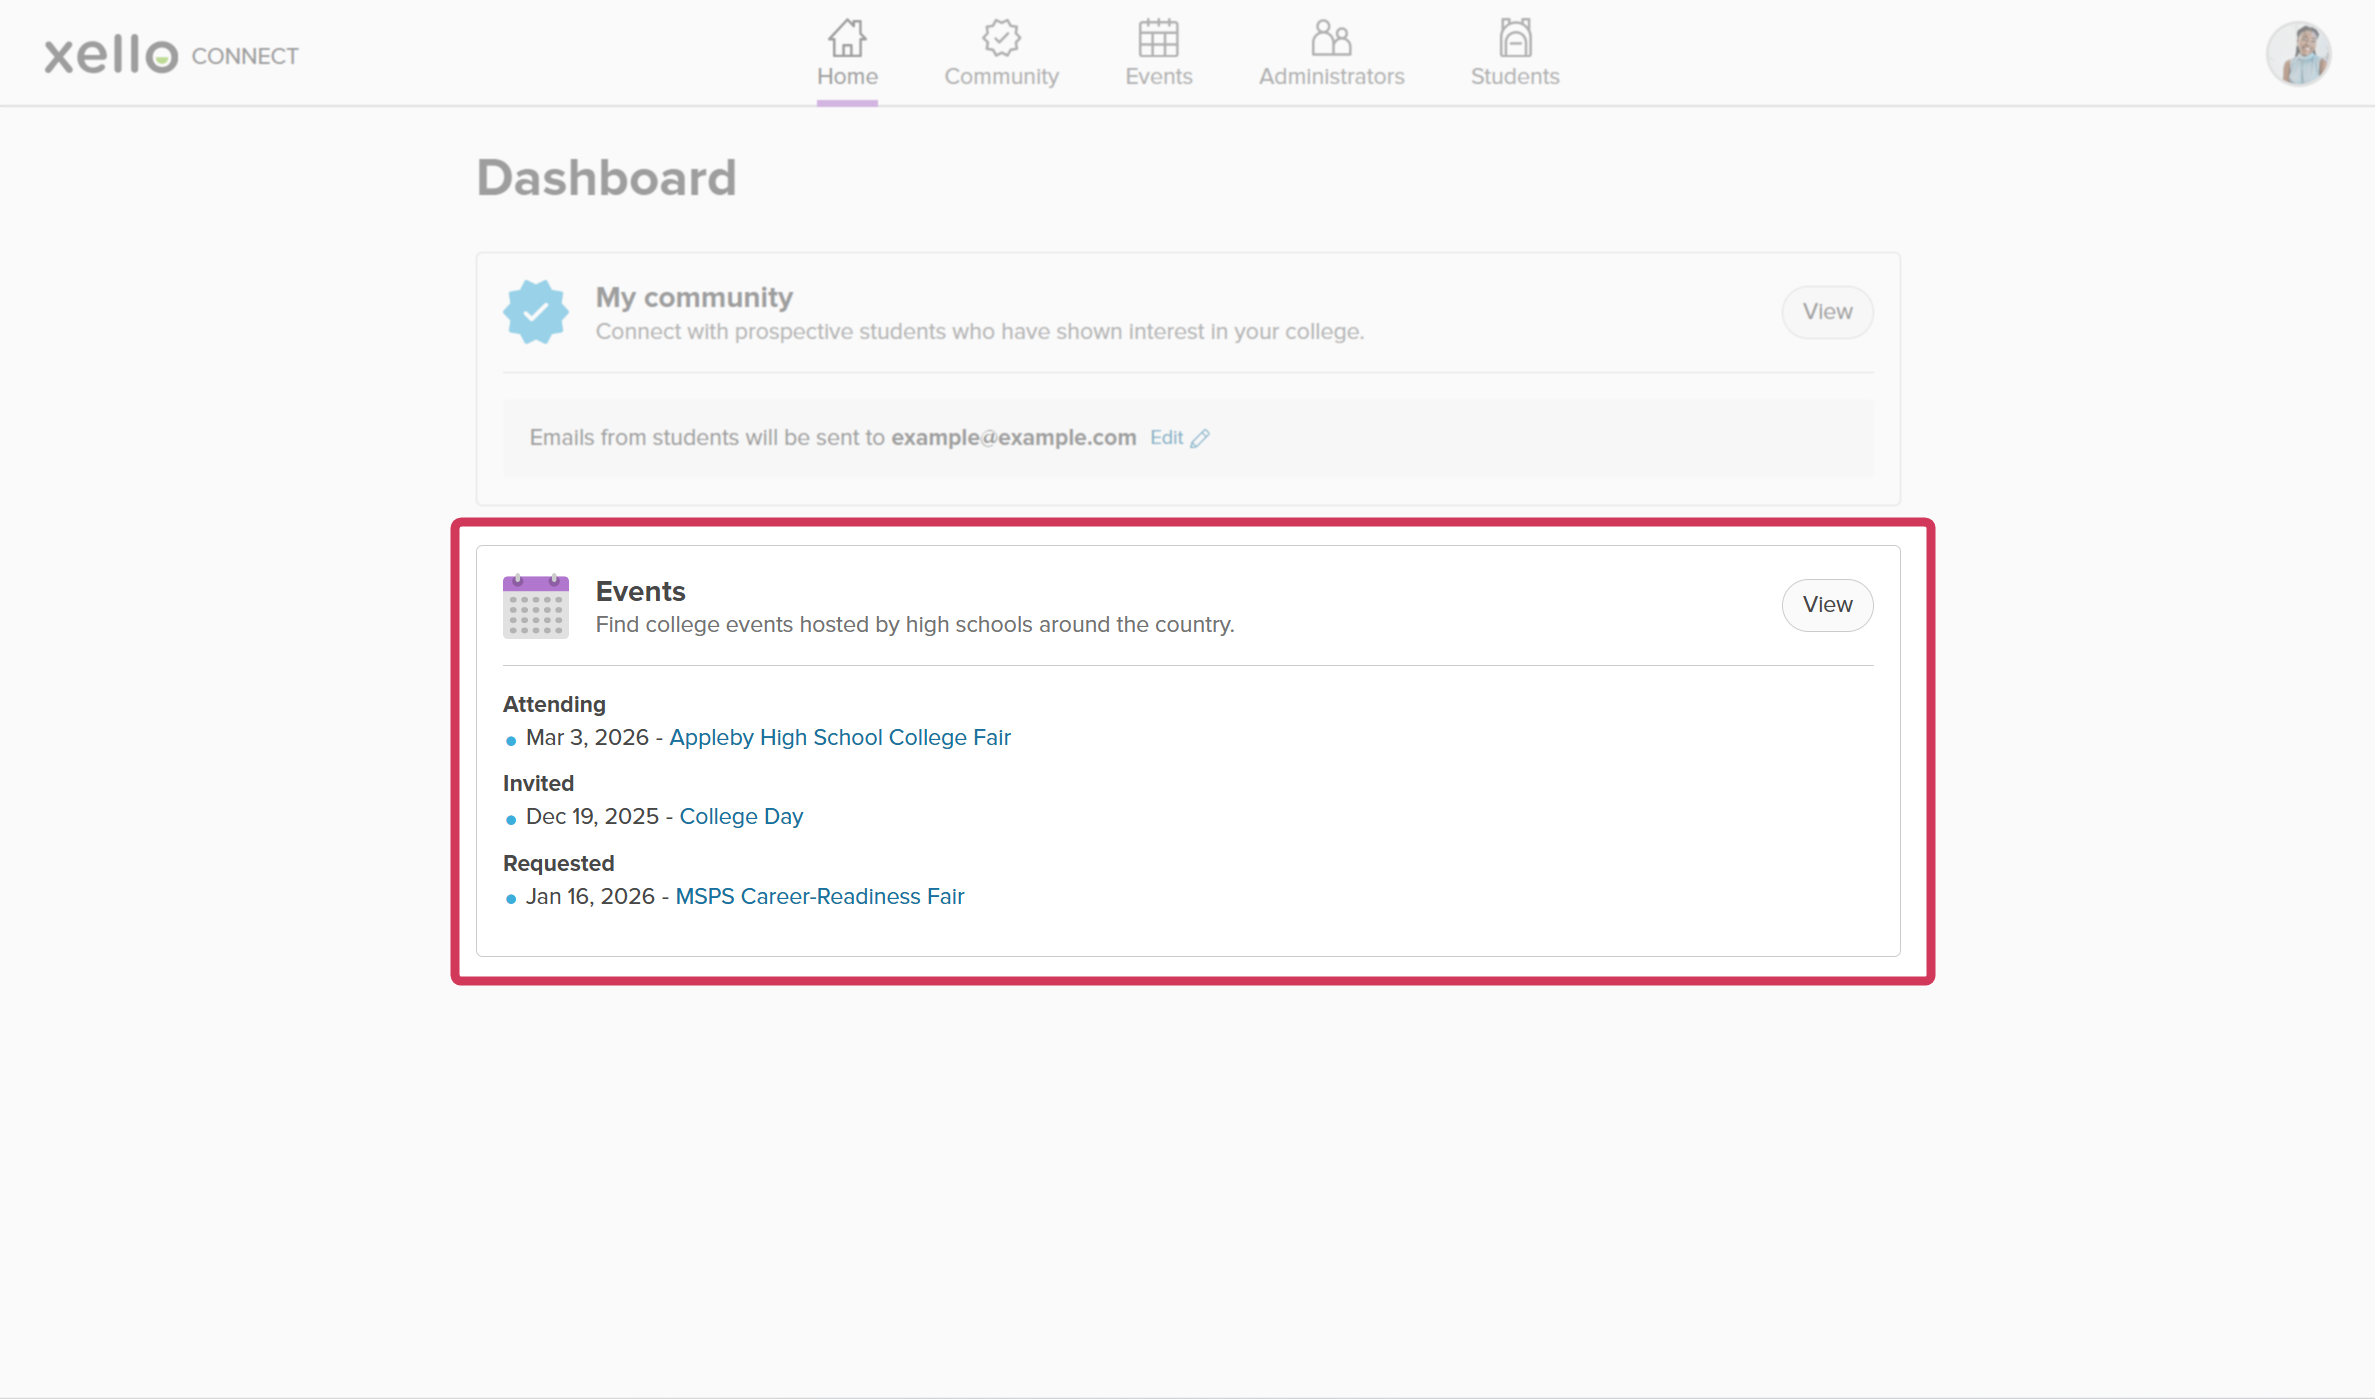
From the dashboard, you’ll also get a quick snapshot of events, organized by ones you’re attending, have been invited to, and requests you’ve sent. Clicking on the event name will open the full details of that event. Events can also be accessed from the top menu. To learn more, check out: View and manage Events.
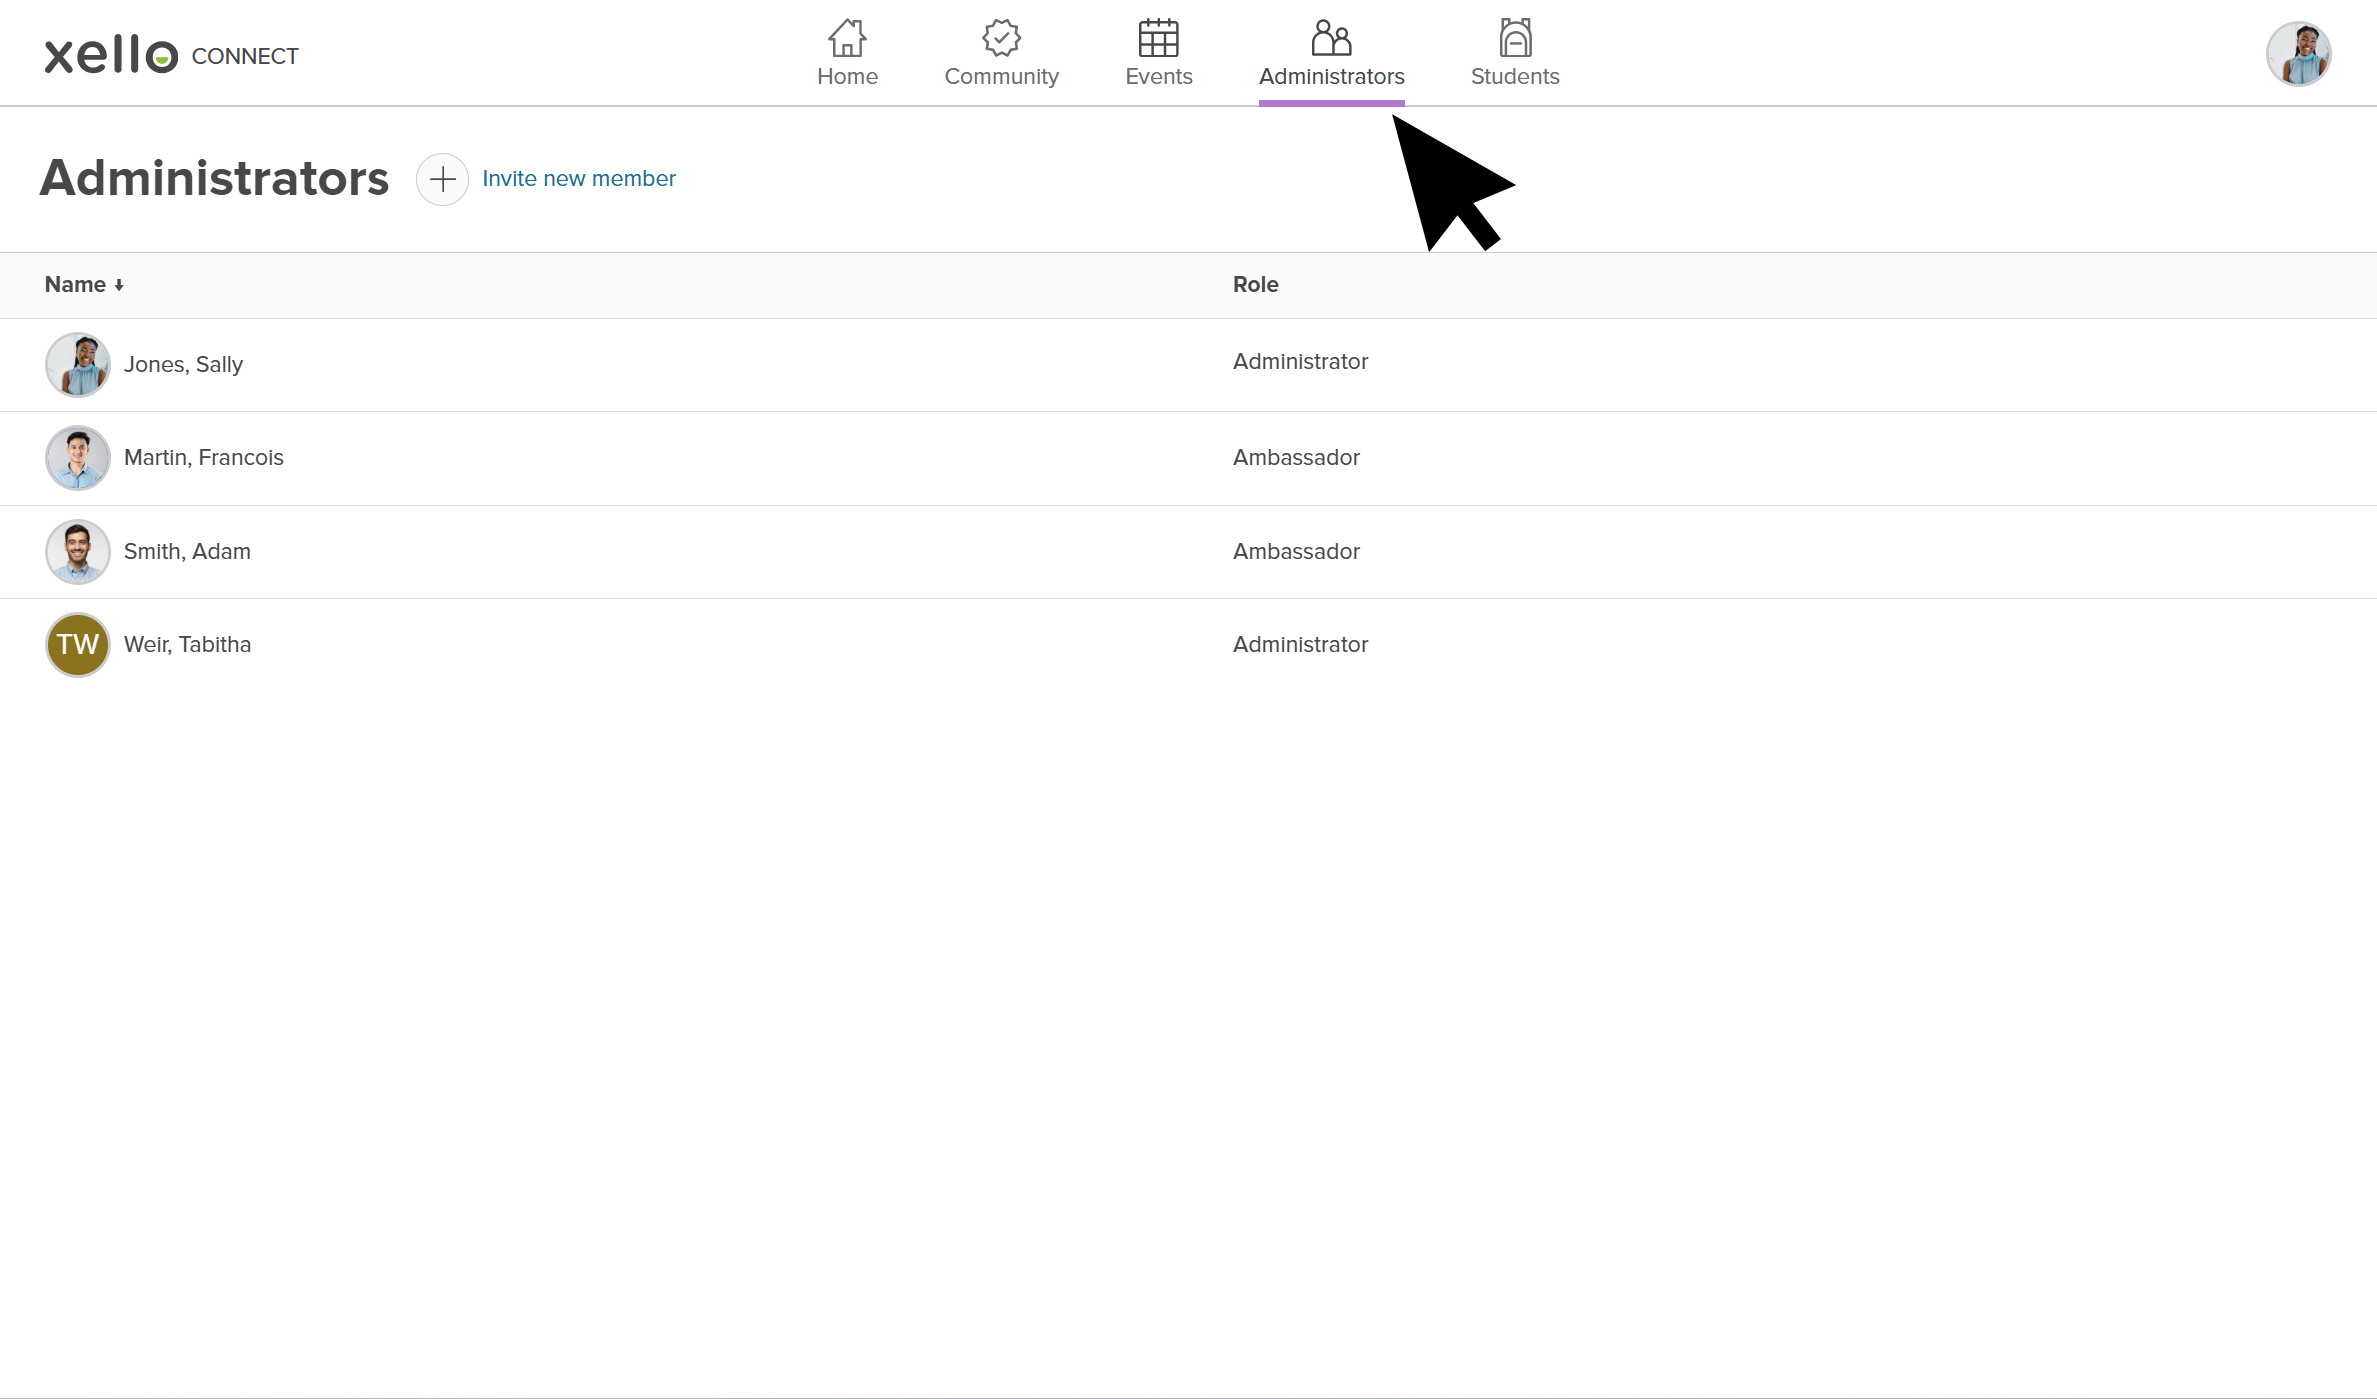
To view community managers and their role, click Administrators in the top menu. Clicking an administrator’s name will open their profile where you can make edits, including changing their role. To learn more about community managers, check out Community manager roles.
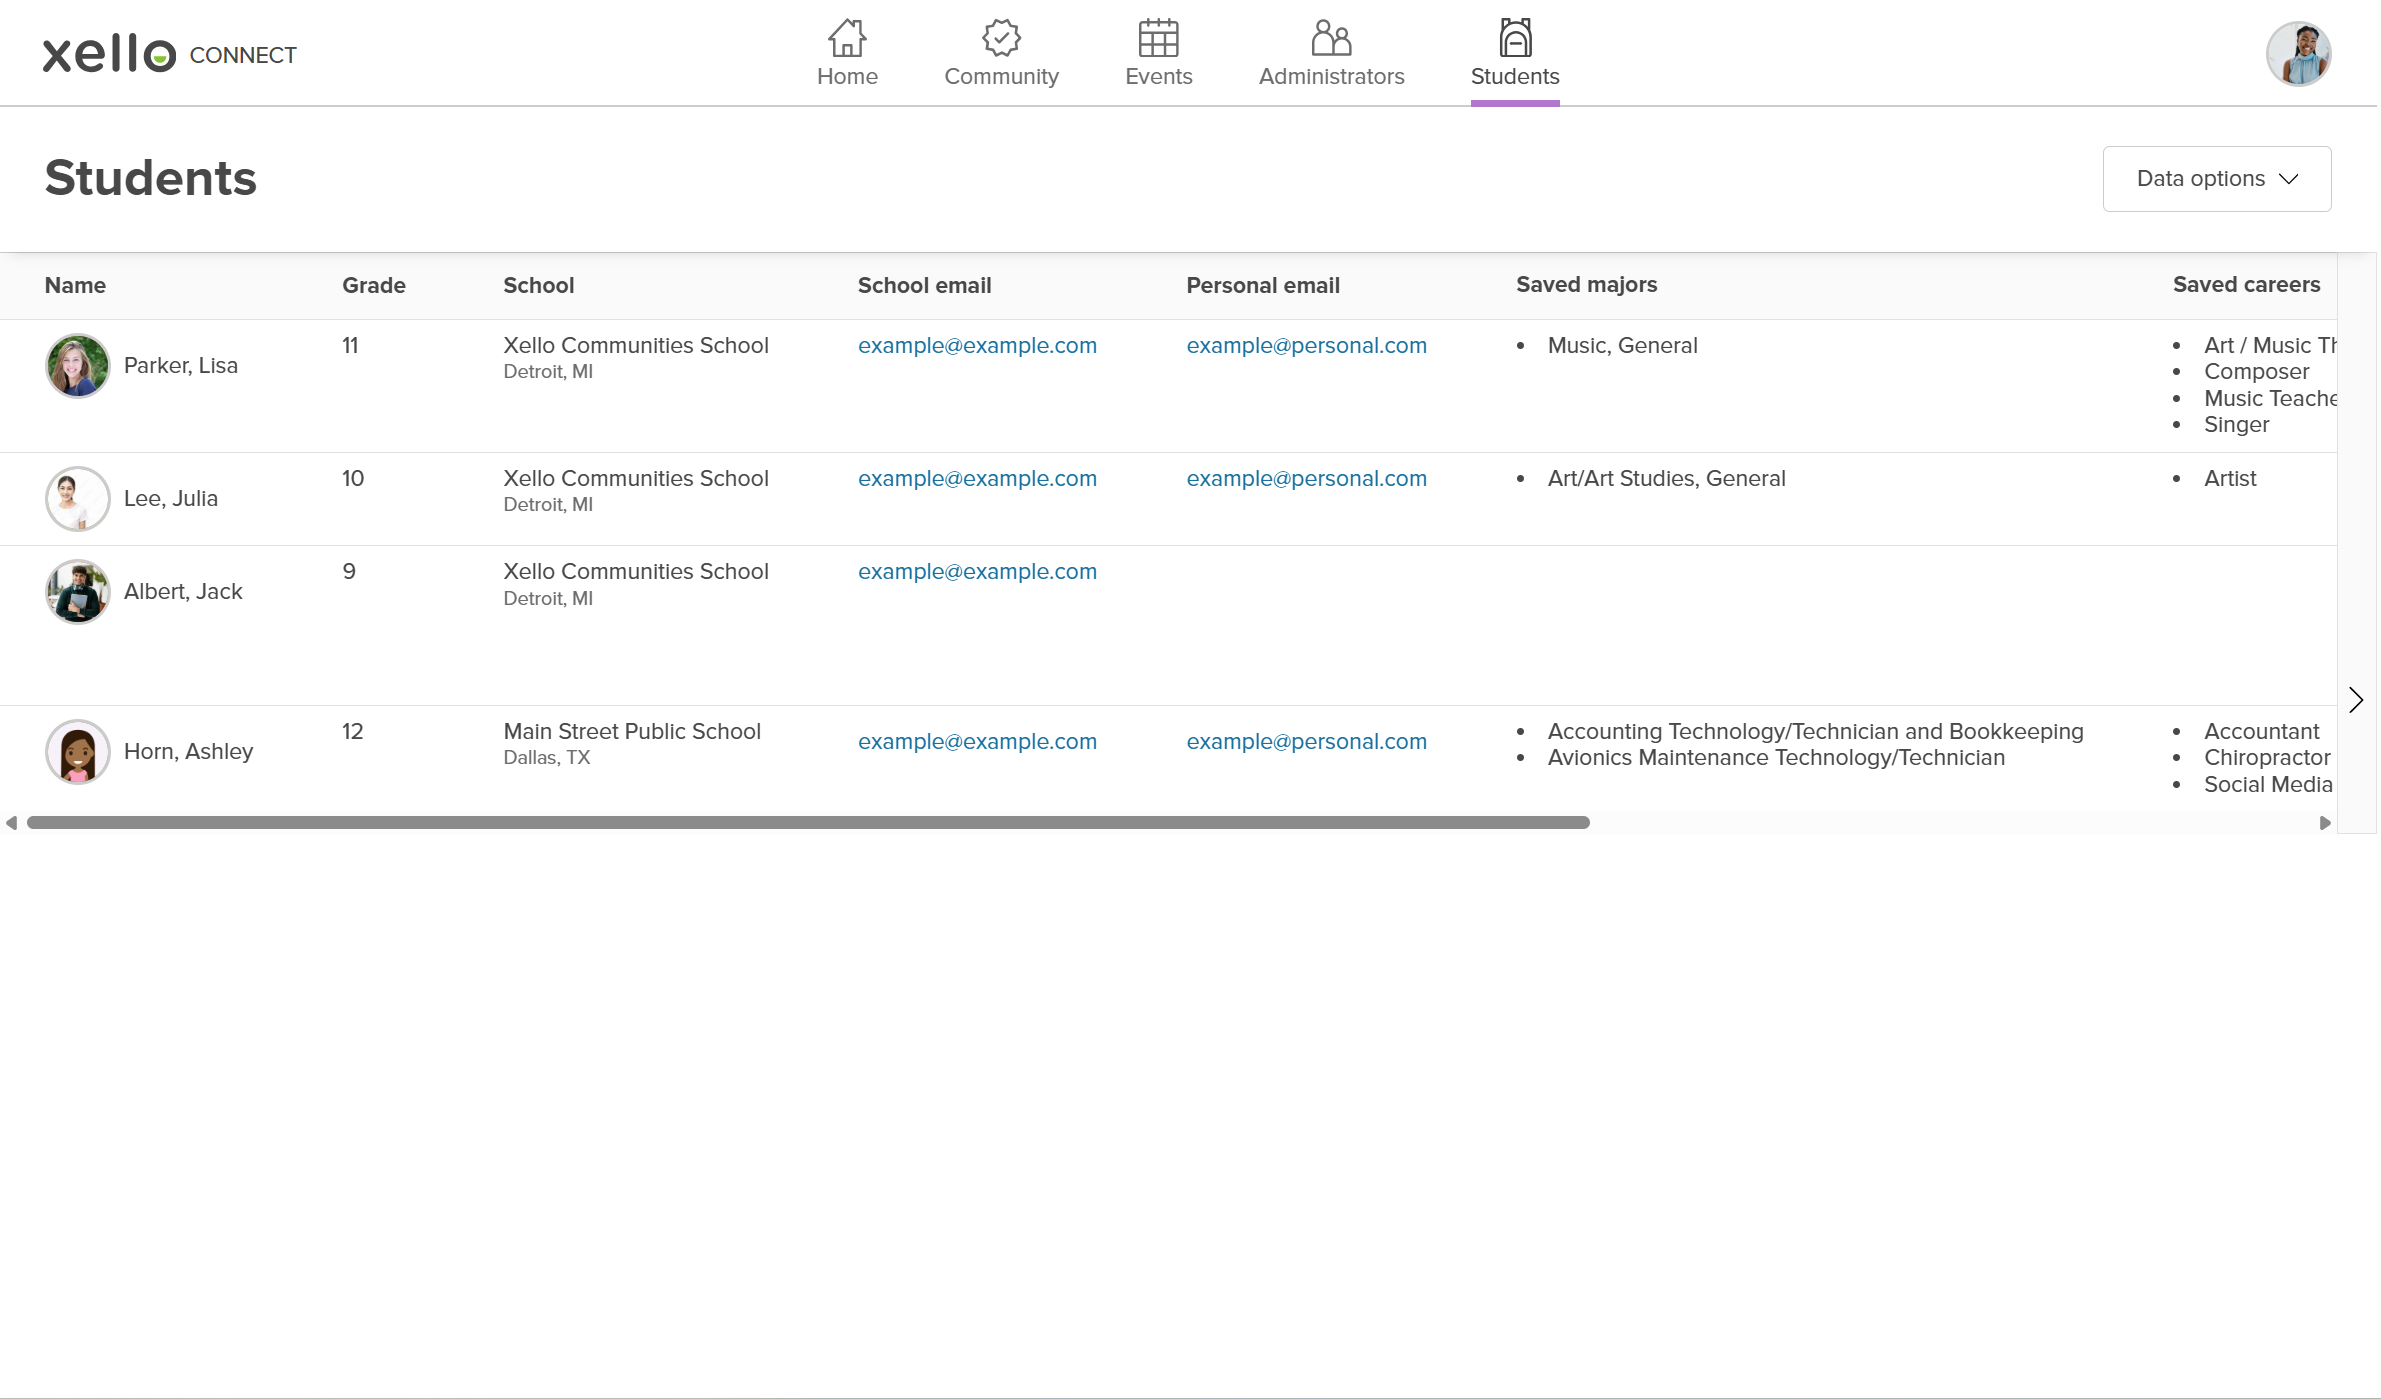
Clicking Students from the top menu will open the list of students who have shown interest in the college or an event and who have opted to share a snapshot of their Xello profile. You’ll be able to view details such as their name, school, email addresses, saved options such as majors, careers, schools, and how many interactions they’ve made. To learn more, check out Work with the student list.
Click the avatar in the top right corner to update your profile and change your picture. You can also adjust your notification settings.